Showing posts with label Craft. Show all posts

Friday, August 10, 2012

Simple Salt Dough


It's HOT.

It's so hot it's too hot to go outside.

In fact, it's so hot it might as well be winter. 

We've made attempts to play outside. But, even the kids are miserable being out in this heat.

So, we play inside which forces me to find creative ways to keep two little people happy.

Today we played with Salt Dough. The kids LOVE it and it keeps them occupied for a little longer than some of their other activities.

Here's the recipe:


 Stay cool, and have a great summer!

Wednesday, February 29, 2012

Perfect Little Pom-Poms

Happy Leap Year!

Well, that and International Pom-Pom Day. It only happens once every four years!

It just so happens that I've been busy creating pom-poms to go with the {yo-yo's} I made.

So, to celebrate, I figured I'd share how I make tiny little Pom-Poms:
Pin It

And....

If you're looking for a fun project to make with your new Pom-Poms,
try these little guys {Fuzzy Pom-Pom People}.

Monday, January 23, 2012

Make a Fluffy Tulle Boa

My nearly 2-year-old loves to dress up. Although she loves the feather boa's at the craft store, I just can't bring myself to buy one. I dread the thought of finding hot pink feathers crammed in the couch, when I change a diaper, stuck to little hands, in her brother's pockets - you know, the usual places kids leave stuff.

While staring at my stash, I realized I have a ridiculous amount of tulle. How cute would a tulle boa be wrapped around the chubby shoulders of my little Sophie Girl?!

Pin It
I would love to get a picture of her wearing it. Alas, every picture of her is blurry. She's a mover and a shaker. No time for pictures!


Follow Me on Pinterest

Friday, December 23, 2011

Emergency Card Kit

A few years ago, a co-worker of mine dropped of a little sealed packet on my desk. I don't remember if it was for any reason or holiday in particular, but she was thoughtful like that.

This fun little packet was an "Emergency Greeting Card Kit." It contained a birthday card, sympathy card, congratulations card, thank you card, and a few blank cards.

What a great idea! This little "kit" came in so handy. She had purchased this set, but wouldn't it be so much more fun to make your own?

Pin It

This also would make an easy last-minute neighbor or friend gift.

In Case of Greeting Card Emergency:
1. Untie card pouch.
2. Open card.
3. Sign name.
4. Seal and send.

I've taken some craft paper and cardstock, cut it slightly larger than a standard greeting card with the back piece long enough to fold over the top to create a flap. I punched a few holes around the edges and threaded a ribbon through. It's as simple as that!

Although I filled mine with cards I had purchased, this would be great filled up with your own handmade cards.

Pin It

Yet another craft where I've used those round Avery Labels I've got so many of.

This little pouch is made up from the scraps of the Emergency Card Kit. It's the perfect size to tuck a candy cane or some other treat into.


Follow Me on <span class=

Wednesday, December 14, 2011

Thumbprint Family Tree

Every year I'm confronted with the same dilemma - what do I get parents/grandparents for Christmas? Its hard to come up with something new every year, especially for people who have everything.

I happened to stumble upon this darling thumbprint family tree printout:

Its perfect! I printed it out on card-stock. Actually, I printed out extras since I was depending on my Munchkins for their little fingerprints.

Then I helped the little kiddos press their inked fingers onto the paper. The little red berries are compliments of The New Guy. He's only 1 month old and MAJORLY uncooperative when it comes to stamping his finger.


Pin It

I love how sweet their little fingerprints look. We made one for both sets of grandparents. This one is for my side of the family. There is a thumbprint for my parents, their children, and each of their grandchildren. Whew! I was afraid there wouldn't be enough leaves.

If you'd like to make one yourself, you can find the printout HERE.


Follow Me on Pinterest

Sunday, December 11, 2011

Monogram Gift Labels


I'll admit it. I have a slight obsession with monograms.

I love them.

And, Pinterest has only added to that obsession. A girl could get lost pinning on that site.

Growing up in a rather large family {10 kids} Christmas was always a magical holiday. Presents were stacked to the ceiling. By Christmas morning, our living room looked like Santa brought his entire workshop of toys and left them for us.

As kids, when we weren't trying to figure out what was in each box, we were busy counting each present with our name on it.

My mom was smart. She knew the kid mantra "quantity over quality" when it comes to kid gifts - she wrapped EVERYTHING individually.

Christmas morning was mayhem.

What does this have to do with monograms, you say?

My kiddos are little. Monograms are perfect for little munchkins learning letters. Ask a kid their favorite letter, I guarantee it will be the first letter of their name!


Pin It

After discovering this stack of round Avery labels taking up space in one of my craft drawers I couldn't resist turning them into monograms.

I pulled out my supply of Christmas wrapping paper and found this darling green paper with dots.


Pin It

I attached my monogram label to the big dots, and cut out the rest. I glued all the dots to card-stock and cut them out again. Then finished with a hole punched through the top.


My little munchkins have been arranging and re-arranging the packages under the tree. They LOVE seeing their "letter" and knowing which package belongs to them.


Follow Me on Pinterest

Wednesday, October 26, 2011

Mummy Votives


Halloween
is upon us and The Munchkin and I needed an easy project that he could do with minimal supervision...er, intervention.

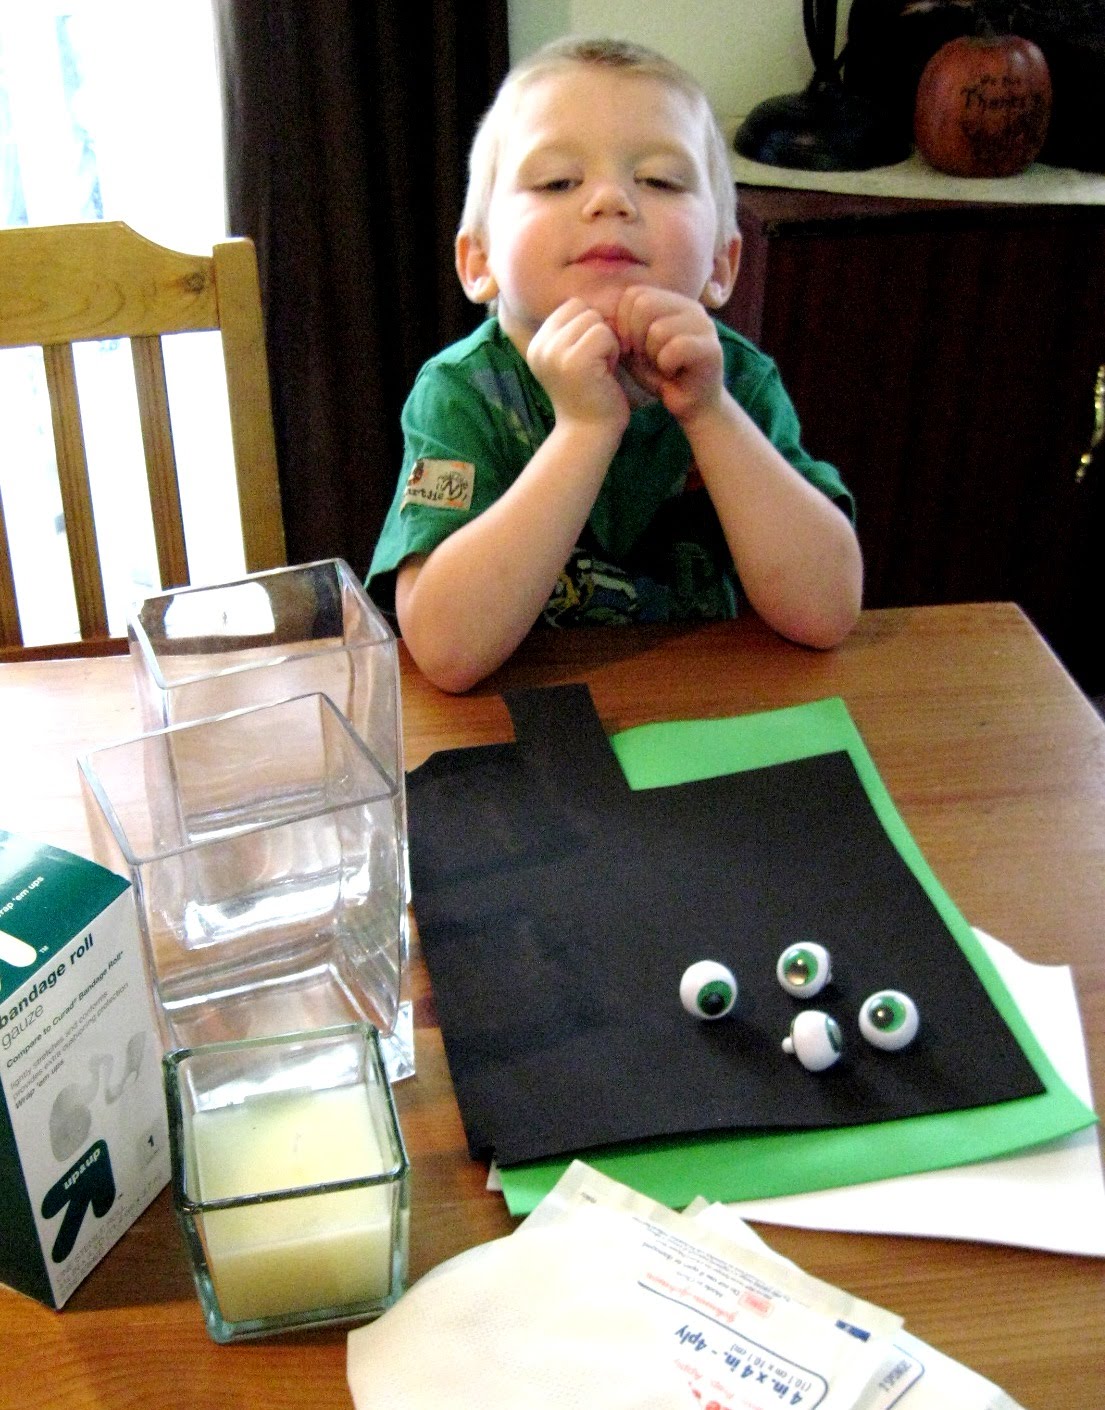
My friend Aimee over at Aimee's Laboratory made these darling Mummy Candle Holders. They turned out to be the perfect project for a little guy!


Mummy Votive Holders:


This project was lots of fun and minimal investment. Everything we used, we already had on hand.


I cut the gauze roll in half, lengthwise, to give us double the length. Then, because I have a slight obsession with setting things on fire, I singed the edges.

Apparently The Munchkin, also has a thing for fire...let's just say, a torch to gauze doesn't disappoint, so be sure to have some water close by.


The only "Booglie" Eyes I had on hand were these from my up-cycled puppet project. They have a post on the back. I wouldn't recommend using them for this kind of project.


The Little Guy helped me wrap, tape and glue the eyes and gauze to my vases. He was so excited about the finished product! (They look a little angry if you ask me.)


All finished! This was a fun and easy project, and when Halloween ends, I can unwrap the gauze and use my vases for the next holiday!

Thanks for the fun craft idea, Aimee!

Thursday, October 13, 2011

Halloween Tree

We've been in a bit of a creative funk lately. Well, when I say "we" I really mean "I" - growing a baby requires a lot of energy, not to mention the brain power that seems to be zapped when you need it most.

The Munchkin, on the other hand, has no shortage of creativity. Everyday is filled with a new "Machine" he's built from blocks, Lincoln Logs, blankets, etc., you name it.

I often tell him I'm "running out of steam" so, the other day he made me a "Get-up Steam Machine." It was a Mega Block tube with the corner of a blanket stuffed into it. He put it up to my HUGE baby belly and made a vacuum noise.

If only it were that simple.

He's constantly asking me "Did you like that Get-up Steam I gave you?"

Needless to say, we (I) needed to get into the Halloween Spirit. So we made this:

Our Halloween Tree

Pin It

It's a little sparse, and the twigs leave a lot to be desired, but it does the job!


Our supplies. When crafting with a 4-year-old, I find he'll spread EVERY individual item out for me whether I want him to or not.


I started out with a REAL pumpkin. I've seen the base of Halloween Tree's done with the craft store foam pumpkins. However, there's nothing like the real thing.

I cored a section in the center. You only have to core an inch or two, after that, its hollow inside.


Luckily we'd saved the twigs from our Easter Tree, because I'm way to pregnant to muster up the desire to find and paint new ones.

I covered them in plastic wrap, and filled in the gap with plastic wrap. Hopefully this will keep bugs out, and somewhat sealed off to help keep it from going bad.


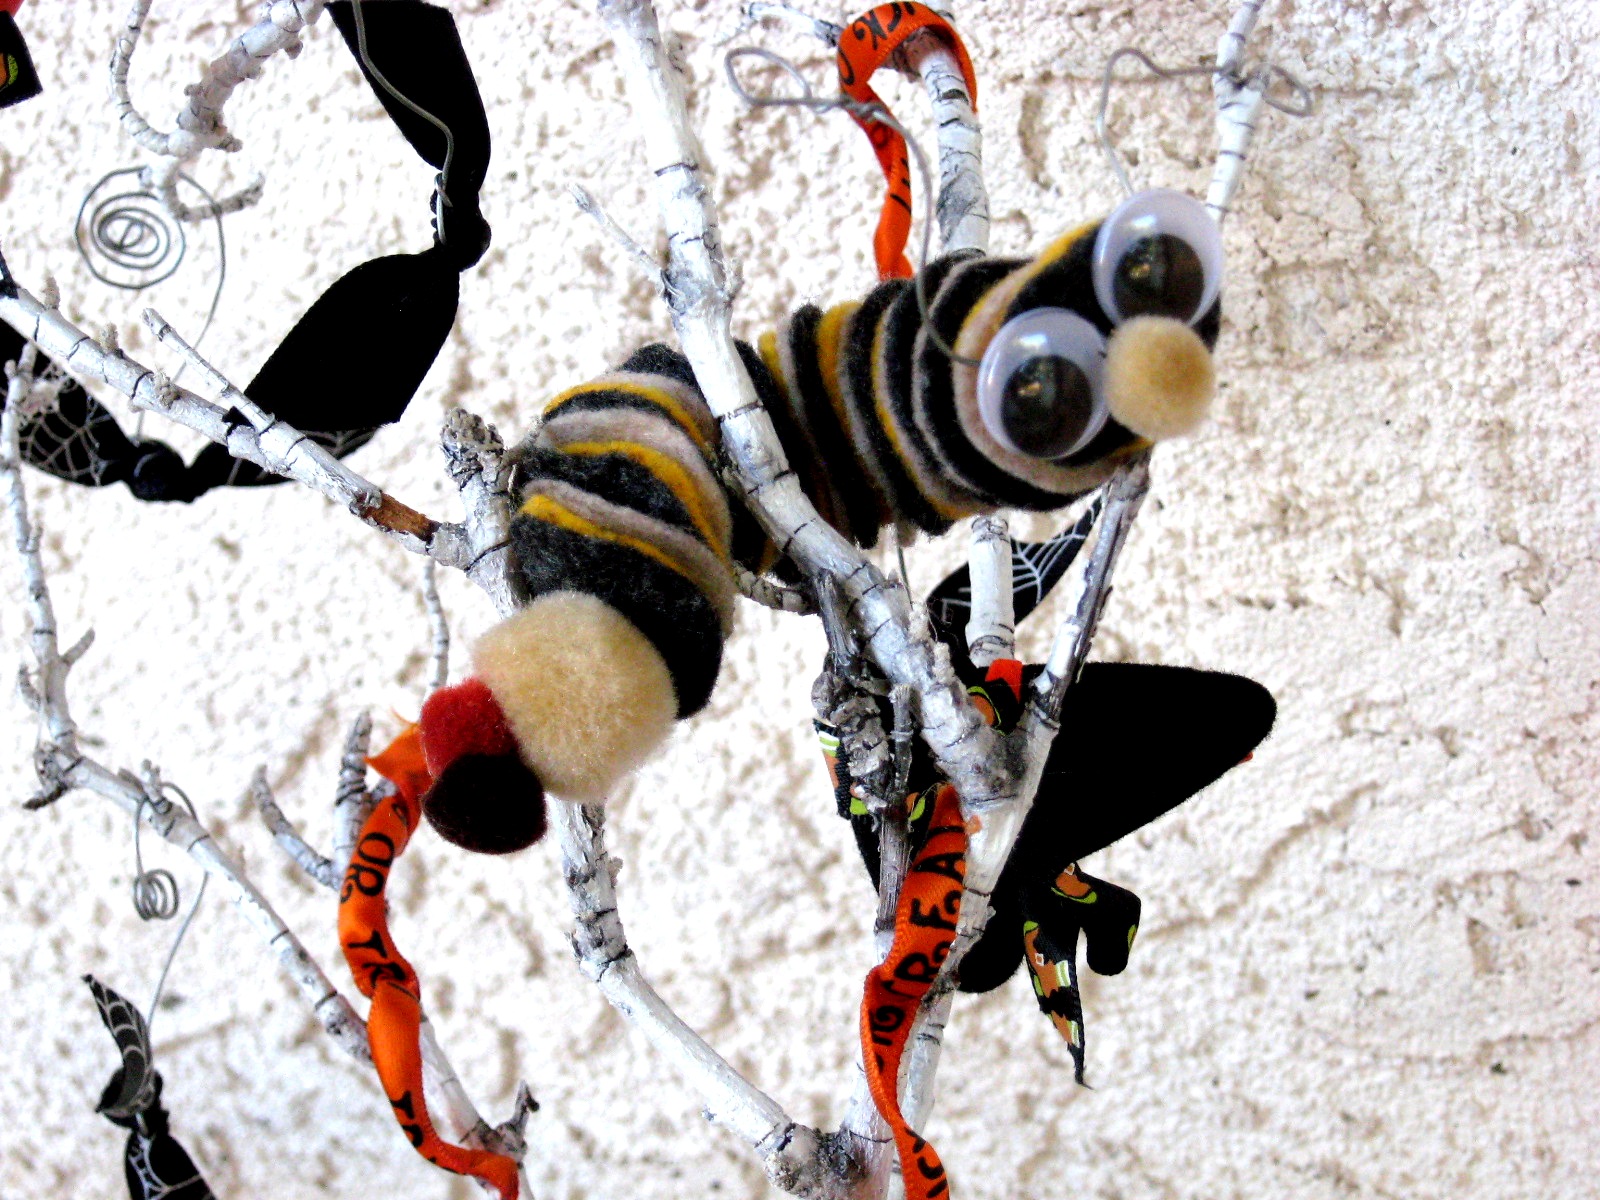
We used all our same ornaments we made last year. The Munchkin added the two votive wreaths to the mix.


His little caterpillar is by far the Little Guy's favorite. He checks on him everyday, just to see if he's still climbing the tree.


The Tree is a little sparse for my taste, but I love the base. I've got a number of these pots in various sizes. They look a little like witches cauldrons. I put a bag full of rocks under the bottom one to keep it from moving, and a bag full of beans in the top one to give it some weight under the pumpkin. I also covered the bottom of both pots with hot glue. Love hot glue - it peals right off when your done!


The Little Guy was pretty proud of himself and our project when it was done. He picked where all of the ornaments went and LOVED helping me stack the pots and pumpkin.

Now onto the next project...Mummy Votives.


Follow Me on Pinterest

Thursday, July 28, 2011

Pom Pom People - Tutorial


These puffy, rough, yellow Pom Poms were initially intended to be made into fluffy yellow chicks. But, like so many other projects, ideas change.

My little 4-year-0ld Munchkin loves to play with these Pom Poms. He's been begging me for days to help him glue "Boogly Eyes" onto them to make a "Fuzzy Monster."

This is such a fun and simple activity.

What you need:


1 big Pom Pom for the body (you can make your own or purchase bigger ones)
1 tiny Pom Pom for his nose
2 Pipe Cleaners
2 Googly Eyes (or "Boogly Eyes" as they're called around here.)
Any other embellishment you'd like to add (The Munchkin bent some leftover pipe cleaner and asked me to add the mustache.)


Bend one pipe cleaner in half. These will be your legs.
Cut the other pip cleaner in quarters. These will be your toes.


Spread the Pom Pom fuzz apart near the center. Add a dab of hot glue. This is where you'll put the center of your bent legs. Once it's glued, cover the pipe cleaner back up with the Pom Pom fuzz.


Do the same thing with the legs. Move the fuzz back and glue the legs to the center of the ball. Cover all exposed pipe cleaner w/ Pom Pom fuzz.

Bend the tips of your pipe cleaner to make a small loop.


Next, take your quartered pipe cleaner and bend the ends to the center. Wrap them around your little foot. Dab some hot glue to secure.


Gently move fuzz.
With a dab of hot glue, affix eyes, nose, and any other embellishments you'd like to add.


You're done!


Follow Me on Pinterest

Saturday, April 23, 2011

Our Easter Round-Up

Together with a few friends we had a fun, little, Easter Party for our Little Munchkins. Our party goers were all under 4-years-0ld.

This made the Egg Hunt so much more fun. Even with all the eggs hidden in plain sight, we still had to point little ones towards the bright colored, treat-filled, plastic eggs.


Because we made a Halloween Tree in October, and we had a Christmas Tree in December, my Munchkin now thinks we need a tree for every holiday.

A dead branch, some spray paint, and a few egg ornaments later, we had us an Easter Tree.


Little fingers decorated plastic eggs with Easter stickers (thank you Target $1 Spot), and no messy dye to clean up.


A friend came up with a fun cupcake decorating activity for the kids. Perfect for their short attention spans.


Who doesn't love to dip marshmallow's in sprinkles?


He decorated this one himself. Poor bunny, I'm afraid it might be blind in one eye.


Last, I made up some little treat buckets (thank you again Target $1 Spot) filled with treats, stickers, a ribbon wand, and some fun little finger puppets I put together last night.


I decided not to fight blogger for flipping my pics. So, just turn your head a bit - you'll get the idea. :)


Happy Easter!