Sunday, October 31, 2010

Ghost Cookies

One last Halloween Treat to share before this holiday is officially over until next year...

Ghosts Cookies!


They're a simple treat that took less time (and mess) to make than regular cookies.

Simply dip Nutter Butter Cookies in melted white chocolate and add mini-chocolate chips for eyes.


I finished mine with a thumb print pumpkin and individually wrapped them in treat bags.


It was super easy and fun! We made these for family night. I dipped, the Hubby dropped the eyes, and the Munchkin, well....he ate!

Happy Halloween!

Wednesday, October 27, 2010

Monster Bean Bags - Tutorial

For my dear, sweet, sister A. Have fun making these little monsters with your little munchkins!
What you'll need:
  1. 5-7 Felt Squares - Any Color (1 black & 1 white for eyes)
  2. Glue Gun/Glue Sticks
  3. Cheap Bag of Beans
  4. Zipper Sandwich Baggies
  5. Scraps of Yarn (not pictured)

Getting Started: Cutting
Body: For each Monster fold one felt square in half. Cut about 3 inches off the edge. You will be left with a 6 inch square (folded).


Eyes: For each Monster cut two large white rounds, two medium colored rounds, and two small black rounds.

Mouth: Use your imagination! For each Monster cut black backing in a strip or round, lips in a slightly smaller strip or round, and jagged teeth.

Spots: Here is where a 3-Year-Old comes in handy. Have your Munchkin(s) practice their scissor skills. They are great at cutting odd shaped spots - and teeth!

At this point - layer Eyes, Mouth and Teeth to get an idea of how your Monster will look!

Assembly: Gluing

Beans/Body: Scoop about 2/3 cup of dry beans into a zipper sandwich bag. Press out extra air and fold over excess plastic. Unfold square. Place beans in center. About one inch from edge place a line of hot glue. Fold and press two halves together.


Mouth: Take the mouth pieces you layered earlier and glue them to the body starting with the bottom (black) piece. Glue teeth in place last.


Eyes: Take the eye pieces you layered earlier and glue them to the body starting with the bottom (white) piece. Glue pupil in place last.


Spots: Take the spots you had your little Munchkin cut out. Glue them randomly to the body - both front and back.


Finish: Edging/Fringe and Horns
Fringe Edge: Cut strips about 1/2 inch deep (to glue line). Fringe strips can be exact width, or varying widths.


Horns: Fold fringe in corners, tie scrap yarn leaving an end long enough to tie a knot. Wrap yarn several times. Tie off and trim edges (see pic below).


***For a variation on the fringe/horns - cut along fold of the body, glue all four sides, cut fringe on all four sides, and wrap horns in each corner. (See red Monster Bag for reference).

Pull off all excess hot glue strings and you're DONE!

Enjoy your new Monster Bean Bags!

Saturday, October 23, 2010

Crafts from Yesteryear

While home visiting my parents in September, I went through some of my childhood things that are still stored in a few boxes there.

Amongst the items I discovered this little gem:


Grandma Cree's handiwork (she's the cute granny to the right posing for a newspaper photo shoot with her bread!).


I wish I knew more about this doll, why she made it, and how many she made (I think she made a number of them). I'm just glad that I ended up with one!

Friday, October 22, 2010

Our Monster Bash

I've been super busy the past couple of weeks.

Today just happened to be a free day - nothing pressing.

I didn't have anything I HAD to do or anywhere I HAD to be. Just me, and my little people. So, when The Baby went down for her morning nap, I pulled out a stack of felt squares from my stash and The 3-Year-Old and I made
Monsters!


All you need is a Paper Towel Tube cut in two, Colorful Felt Squares, a Small Baggie of Rice or Beans (to keep it from toppling over), Hot Glue, and your Imagination!


They're cute coming AND going...


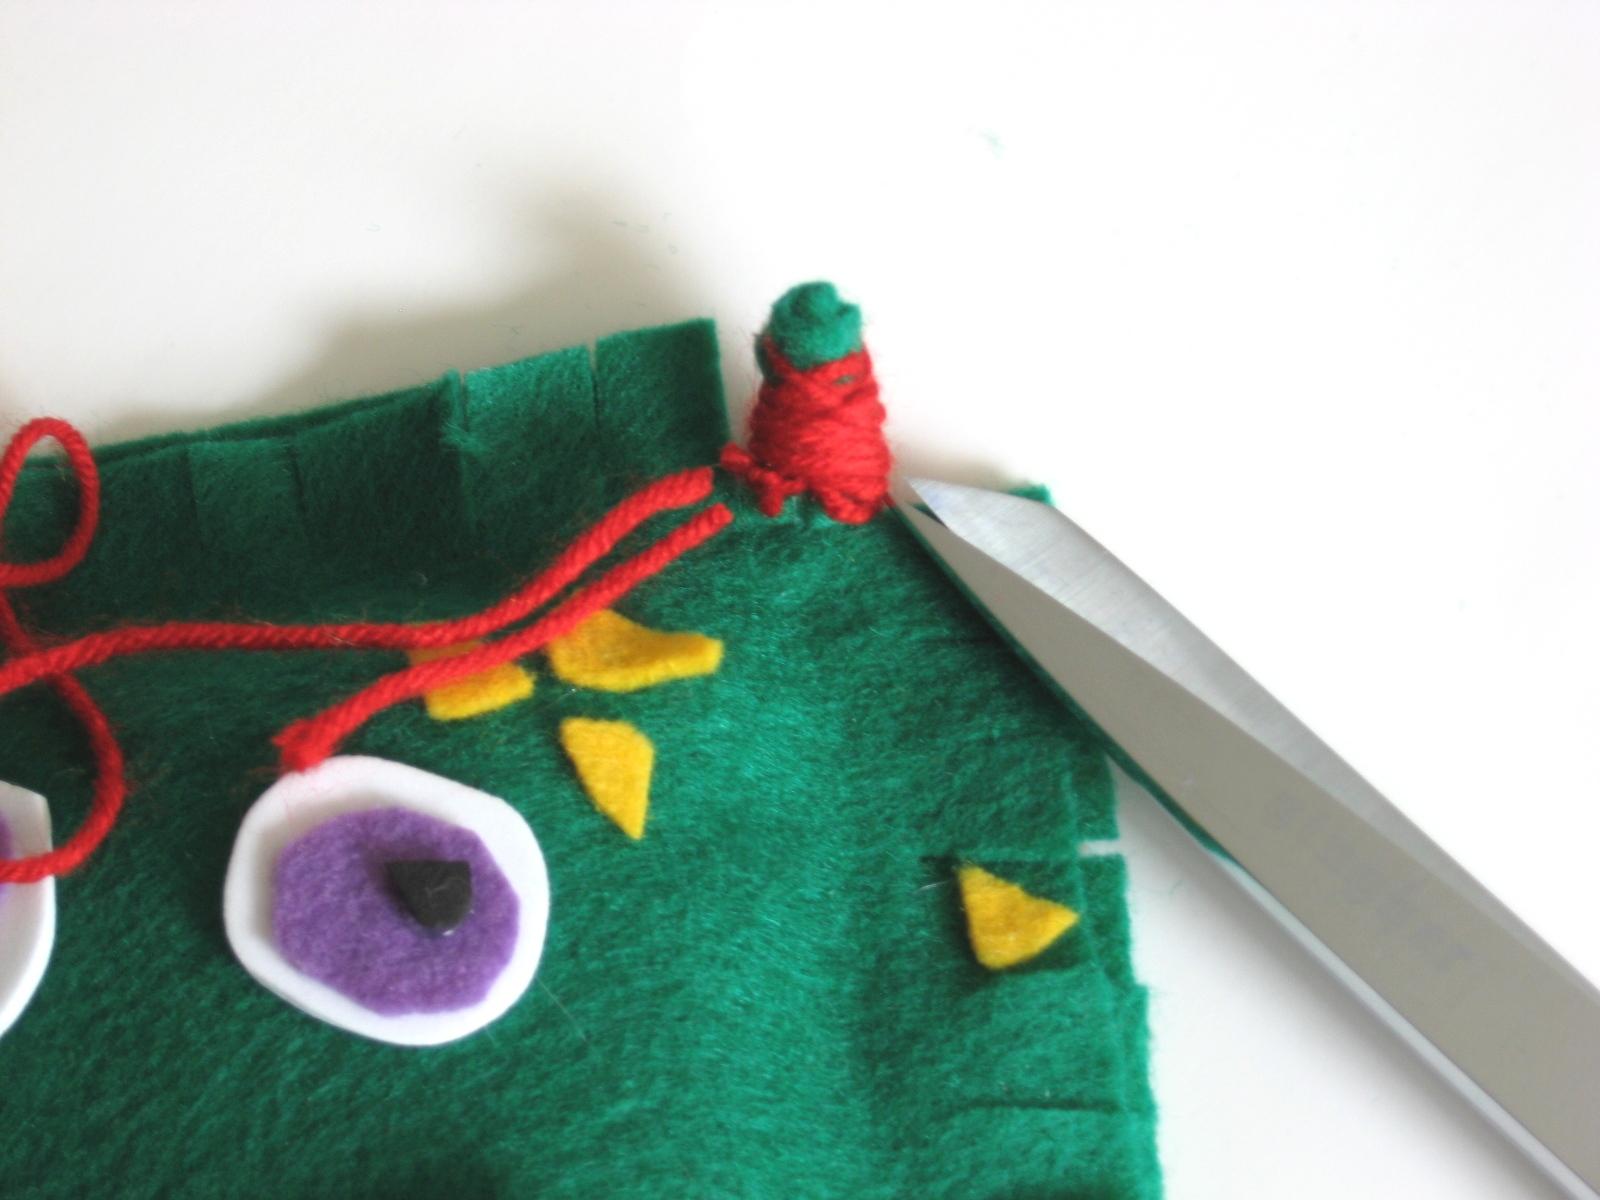
The Munchkin did most of the cutting. Actually, I think he perfected his scissor skills today. He pulverized two sheets of felt. At least we got, spots, teeth (most of them), and part of the eyes from the scraps he left.

He dressed himself today. His shirt is on inside out and backwards. Since he put the sweater over it I didn't bother making him turn it around - not to mention that I got to have a little chuckle to myself every time I looked at him and saw "5t" peaking out through the collar of his sweater.


When we finished the Monsters, he asked if he could watch a "show" with "the guys."

His show choice - Frosty the Snowman. Perfect for two Halloween Monsters, don't you think?


Saturday, October 16, 2010

I Saw a Halloween Tree...

"I saw a Halloween Tree
And someone was looking at me
Black Cats and Bats and Witches too,
With Ghosts and Goblins all say BOO-OO
BOO-OO, BOO-OO, BOO-OO
"

We've been singing this song to The Munchkin (my 3-year-old) for about two months now. So, when I told him we were making a Halloween Tree, he couldn't (and hasn't) stop talking about it!
He was even kind of helpful in his own little pre-schooler way.

We set off on a hunt for the perfect dead branch then spray painted it black, and let it dry overnight.


We made fun little bat ornaments from knotted ribbon inspired by these featured at Pebbles in My Pocket - she's having a 31 Days to Halloween Countdown.


The day we put the Halloween Tree together, The Munchkin got a package from his Grammy. In it were these little felt Witch Hat Pins. Perfect! They just needed a little bow to add some flair. (Dang Blogger for rotating the pic and not allowing me to rotate it back...)


We stuffed the "Tree Trunk" into a foam base and filled the pot with beans - they expired about 2 years ago and have been taking up space in my cupboard waiting to be used for this project, I guess!

This Caterpillar was supposed to be a joint effort, but once the Little Guy discovered we were using googly eyes, well - in his words "I'n too busy, Momma!" However, he was quite bossy when it came to the positioning of its "ears" (antenna). I found this at The Crafty Crow.

Our Halloween Tree...

This two-dimensional picture doesn't do it justice.

We like it, and The Munchkin - he can't stop talking about it.

Saturday, October 2, 2010

Featured - Red and Teal/Blue Etsy Treasury

What a BEAUTIFUL Treasury! I love all the bright, fresh colors Mimi Michelle Jewelry picked for this Treasury.

"Red and Teal/Blue - My favorite color combination"

Thanks Mimi Michelle for including my Kids Neck Cowl/Cozy!

You can find it in my Etsy store Here - and check back soon for Adult Cowl's, Cozy's, and Scarfs just in time for the cool weather!